Wow, so apparently, my last post was in December 2015.
I'm bad at keeping up with my blogs, I know. *lol* Yes, I said blogs, I have 3. This one that is strictly for nail related things, one that is just for fun where I post quizzes and surveys like what we used to have on myspace back in the day, and finally, my personal blog, which is for pretty much everything.
So what's new ?
As you can see, the name of my blog has changed.
I no longer am against the use of acrylics. Hold on, before you start calling me a hypocrite or anything (like some people have been doing), let me tell you why.
I have a bad habit, especially when my lips are chapped, to pick at my lips until they bleed. Its a really bad habit I have had since i was little. For the longest time, even using chap stick and other lip balms wasn't helping my lips. and being someone who has her face in public (via my YouTube videos) 3 times a week if not more, I was embarrassed that my lips looked like Freddy Kruger had attacked me.
The only way I know of to not pick at my lips, is to have my nails done. I tried just doing some pretty nail art, thinking that would do the trick, but nope, I still picked at my lips, and would ruin the nail art.
Having my nails long is honestly the ONLY way for my lips to be safe from me picking at them, because when my nails are long, I can't seem to grasp the skin of my lips well enough to pick at it. But, no matter what I did, my nails just were not growing, so, as much as I dislike acrylics, I decided to get them done again.
Its been almost a month since I've had them done (the 5th of september will be a month), and already my lips are almost completely healed and scab free !
Mind you, I still am not a fan of acrylics, and believe me, if I could find some other way to grow my natural nails to this length without them cracking or breaking, then trust me, I wouldn't deal with the acrylics. But until that day comes, this is seriously my only option.
Friends have suggested I try nail wraps like Jamberry and other nail wraps, but I mean I doubt that would deter me from picking my lips. Because honestly, I been doing it so long, that nothing deters me. I have done some seriously intricate designs on my nails in an effort to not pick my lips so I don't ruin the art, but nope, still did it. Even went so far as to go to a salon to get the nail art done, thinking, since I've got a very limited financial budget, that getting my art done at a salon would deter me cause I would be basically wasting money, and again, nope, still did it.
Since having my nails done on august 5th, I have tried to pick at my lips twice but to no avail, so I haven't tried since. So obviously that tells me that having long nails is the key.
I got them done with white tips this time, so that if I don't feel like doing any nail art, my nails would still look pretty. But once they grow out, and my natural nail starts getting long, I'll have them just putting acrylic over my natural nails. I believe its called an overylay. I might even look in to learning how to properly do it myself and save some money in the long run.
So that's the reason I got my nails done, so now hopefully, people can stop calling me a hypocrite after seeing pics of my nails on IG and other social media.
I love all things nail related ! From getting my nails done professionally, to doing them myself at home, nail polish, nail art, and everything in between.
Thursday, August 25, 2016
Saturday, December 5, 2015
Hello Kitty Nail Polish from Dollarama
I really love these polishes. Not just because its hello kitty, but they are such pretty colors, they don't have a bad odor like most cheap/discount polishes do, and it doesn't take a ton of coats to make it opaque.
I really suggest if you see these anywhere, to get yourself some. (Sorry, I didn't take a pic of the case it came in, but you can see it in my youtube video, which I will link down below)
The set of 4 colors, only cost 4 $ at Dollarama, but apparently they can be found at other places too, just not sure where, cause I've only ever seen them at Dollarama.
^ This is 2 coats of each color ^
I really suggest if you see these anywhere, to get yourself some. (Sorry, I didn't take a pic of the case it came in, but you can see it in my youtube video, which I will link down below)
The set of 4 colors, only cost 4 $ at Dollarama, but apparently they can be found at other places too, just not sure where, cause I've only ever seen them at Dollarama.
^ This is just one coat of each color ^
^ This is 2 coats of each color ^
That's all for now, let me know in the comments section if ya'll have ever tried this polish before, if so, what did you think of it, and where did you purchase it ? Which is your favorite of the 4 colors ?
See you guys again soon !
(here's the video if you haven't yet seen it)
Friday, August 28, 2015
Football Inspired Nail Art Tutorial
Hey everyone !
So today, I'll show you close up pics of the products I used to achieve this gorgeous look.

Its quick and really easy to do !
You don't have to be a professional to achieve this either, I'm not, and while I will admit, I could've made thinner lines, it came out pretty good.
To begin with, paint your nails with a basecoat (to protect them from the dark colors and the glitter, as well as to help the manicure last longer.
Once that's dry, choose 3 nails and paint those green. Add some green glitter (or any color you want if you have no green), and add a topcoat to seal it in.
Then on the remaining 2 nails, paint them brown. I used Essie's "Mink Muff", its not as brown as I wanted, but its the only brown I had.
Using a dotting tool, (or toothpick, striper brush, or paintbrush), paint a vertical line in white on the 2 nails you painted brown. Then, using that same white, paint 3 smaller horizontal stripes along the original vertical line.
Seal with a top coat and voila ! Pretty football inspired nails.
This is the original pic that gave me the inspiration. But I wasn't too keen on using the same fingers since I wanted it to look different.
So today, I'll show you close up pics of the products I used to achieve this gorgeous look.
Its quick and really easy to do !
You don't have to be a professional to achieve this either, I'm not, and while I will admit, I could've made thinner lines, it came out pretty good.
To begin with, paint your nails with a basecoat (to protect them from the dark colors and the glitter, as well as to help the manicure last longer.
Once that's dry, choose 3 nails and paint those green. Add some green glitter (or any color you want if you have no green), and add a topcoat to seal it in.
Then on the remaining 2 nails, paint them brown. I used Essie's "Mink Muff", its not as brown as I wanted, but its the only brown I had.
Using a dotting tool, (or toothpick, striper brush, or paintbrush), paint a vertical line in white on the 2 nails you painted brown. Then, using that same white, paint 3 smaller horizontal stripes along the original vertical line.
Seal with a top coat and voila ! Pretty football inspired nails.
This is the original pic that gave me the inspiration. But I wasn't too keen on using the same fingers since I wanted it to look different.
Here's the products I used....
And here are the pics close up of each product....
So that's it, I hope you enjoy this tutorial, and if you decide to recreate this look, let me see your designs. Use the hashtag #MamaTamz on twitter or instagram.
Here's the full tutorial I posted on youtube...
See you guys again soon !!!
Friday, June 26, 2015
Jelly Belly Scented Nail Polish Review
So awhile back while I was strolling through Dollarama here in Montreal, I came across this set of mini polishes. 3$ for 5 little 7.4ml bottles, good deal right ?
WRONG !!!!
Biggest waste of 3$ ever !
That's sayin' something considering that I love colecting polishes of all kinds, and I happen to love Dollarama and ALMOST never complain about anything I purchase there.
The colors are vibrant....in the bottle. As you can see from the pics I'm about to post below, to get them as vibrant as you see in the bottles, you need at LEAST 2 coats, and the more coats you put on, the easier it is for it to peel, and that's withOUT using a basecoat underneath.
As you can see on this hand, this is only one coat of the polish. The pink is barely visible.
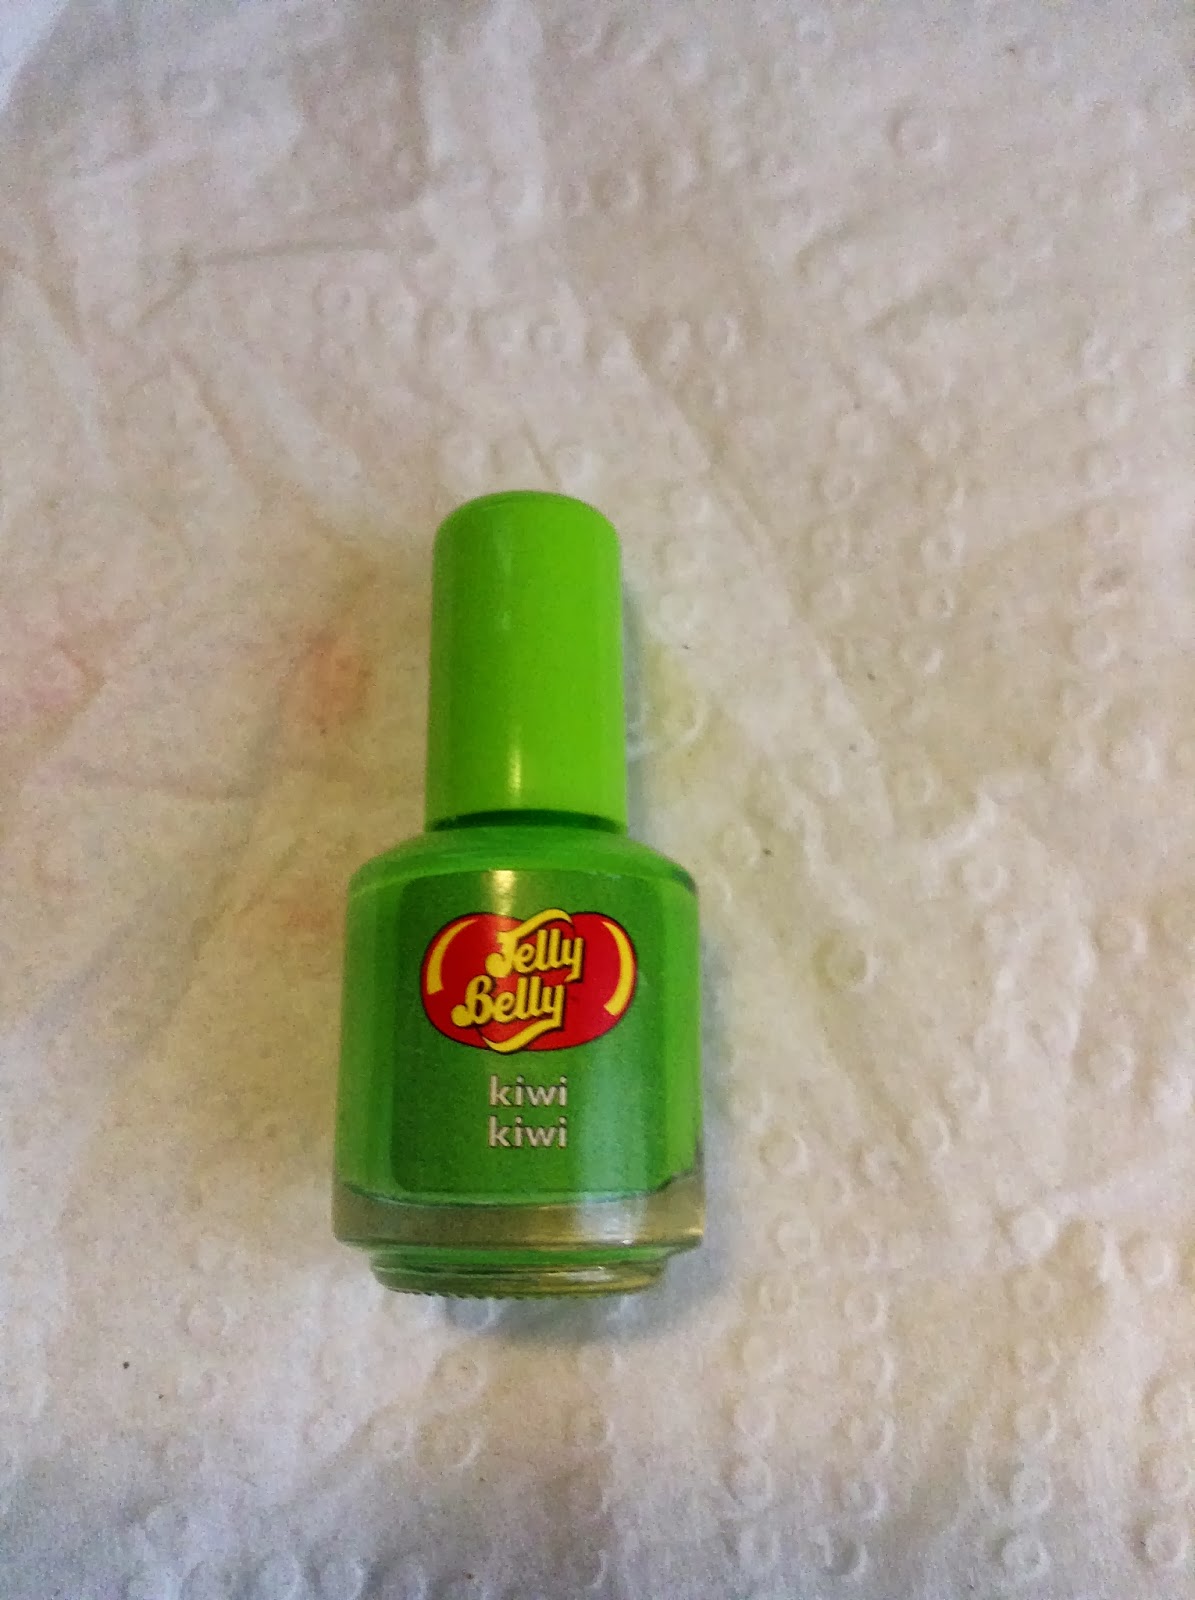
As for the scents....THEY STINK ! And not in a good way either. The red especially, it smells like strong paint. I'm sorry, but nail polish isn't supposed to smell like something to paint your walls at home with. I KNOW its a dollar store product, but come on. The pink, smells more like pina colada than bubble gum, the green smells nothing like kiwi, but smells kinda ok, and the blue is the only one that actually smells nice, but again, smells nothing like what the label claims its supposed to smell like.
In the pic over that way>>>>>
that's my left hand, with 2 coats of the polish, except the pink. The pink was about 3 or 4 coats and still barely visible. Don't get me wrong, I like the color, I just don't like how transparent it is. Might be good as a basecolor for like a french mani or something though.
What really makes it not worth the money is the fact that it peels so easily. I had it on for maybe 20 minutes and it was already starting to peel. Mind you, it was the hand with multiple coats, but even the hand with just one coat was peeling as well. Nail polish is NOT supposed to do that. I mean sure, if you're using it on a child, then its fine, but what adult really wants to have a nail polish start to peel within less than an hour of putting it on ?
That's all for now, my point is, unless you're planning on using it for your child, then go for it, but if its for yourself, don't waste your 3$ !
Below are close ups of the bottles so you can see the colors betters.
WRONG !!!!
Biggest waste of 3$ ever !
That's sayin' something considering that I love colecting polishes of all kinds, and I happen to love Dollarama and ALMOST never complain about anything I purchase there.
The colors are vibrant....in the bottle. As you can see from the pics I'm about to post below, to get them as vibrant as you see in the bottles, you need at LEAST 2 coats, and the more coats you put on, the easier it is for it to peel, and that's withOUT using a basecoat underneath.
As you can see on this hand, this is only one coat of the polish. The pink is barely visible.
As for the scents....THEY STINK ! And not in a good way either. The red especially, it smells like strong paint. I'm sorry, but nail polish isn't supposed to smell like something to paint your walls at home with. I KNOW its a dollar store product, but come on. The pink, smells more like pina colada than bubble gum, the green smells nothing like kiwi, but smells kinda ok, and the blue is the only one that actually smells nice, but again, smells nothing like what the label claims its supposed to smell like.
In the pic over that way>>>>>
that's my left hand, with 2 coats of the polish, except the pink. The pink was about 3 or 4 coats and still barely visible. Don't get me wrong, I like the color, I just don't like how transparent it is. Might be good as a basecolor for like a french mani or something though.
What really makes it not worth the money is the fact that it peels so easily. I had it on for maybe 20 minutes and it was already starting to peel. Mind you, it was the hand with multiple coats, but even the hand with just one coat was peeling as well. Nail polish is NOT supposed to do that. I mean sure, if you're using it on a child, then its fine, but what adult really wants to have a nail polish start to peel within less than an hour of putting it on ?
That's all for now, my point is, unless you're planning on using it for your child, then go for it, but if its for yourself, don't waste your 3$ !
Below are close ups of the bottles so you can see the colors betters.
Wednesday, April 8, 2015
Hollywood Nails, nail art stamping kit
Let me just say, if you haven't seen my video on it yet, you can check it out here.....
Here is what comes in the kit....
You have the stamper unit, instructions, the stamping plates, the wheel with the different color rhinestones, the dual ended nail tool (one end is a dotting tool, the other end is a nail art brush).
Just in case you're wondering, here's what the back of the packaging looks like .....
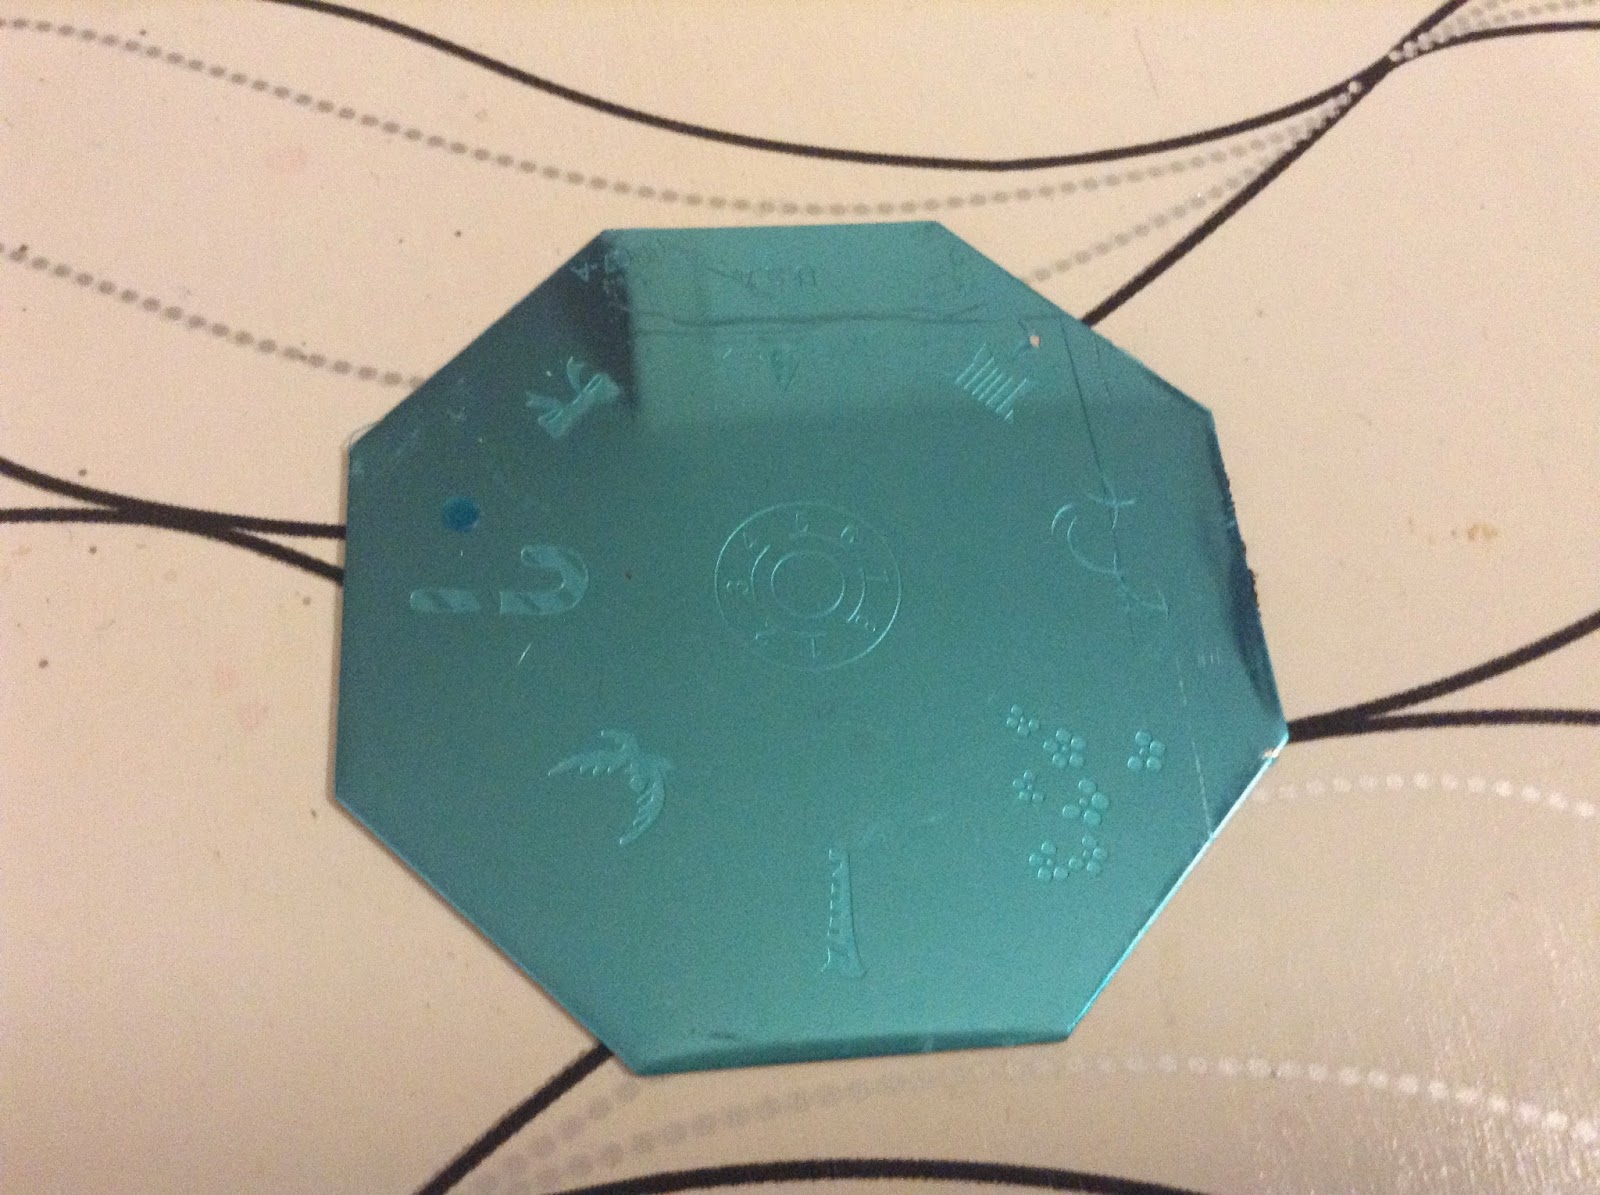
And here, as promised in my video... are the close up pics of the individual stamping plates.....
Sorry for the glare on the plates. I would have taken pics without the protective film on the plates, like the first one, but it would've given too much glare cause of the lighting.
If you still want to see pics of them without the protective film, comment below (or on my video) and I'll take pics for you to see.
Here's 2 pics of the stamping I did in the video....
As you can see, some designs show up better than others. I haven't yet tried it with short nails, but I will in the next few days, so as soon as I do, I'll update you guys and let you know how this works on short nails.
Monday, March 30, 2015
NailArt Tutorial : Newspaper art (using WATER)
I seen this done many times, but every video said to use rubbing alcohol or even vodka, but then I found a few mentioning water. They used bottled or filterd water, I used plain tap water and it worked perfectly fine.
Below are better pics of what I used (since I forgot to show them one by one as I used them)
start with a base coat, i love this one because it has a nail strengthening formula
then.... add 2 thin coats of your favorite polish, i use this one....
Sorry I didn't add pics of the newsprint, I will next time. I was tired.
Then I added some sparkle (this part is optional) (this one is also wet n wild shine)
Then finished off with 2 coats of top coat. I love this one, it dries so fast !
And this is the end result ! Don't forget to clean up around your nails with polish remover.
Hope you enjoy trying this yourself !
Buhbyeee for now ^_^
(clockwise from left to right)
water, base coat, top coat, clear sparkle polish, light color polish of your choice, 10 strips of newsprint, tweezers
(tweezers and sparkle polish are optional)
Check out the video here........
Tuesday, March 17, 2015
St. Patty's Day Mani !
Like my mani ?
This is my mani in honor of St. Patty's Day.
On the accent fingers, I used a white polish from Billie brand polishes (purchased at DollarTree), and 2 different shades of green for the shamrocks, which I made using my Hollywood Nails Nail Art Stamping Kit. On all other nails, I have a shimmery/metallic green from Wet N Wild "Wild Shine" in the color C446C.
This is my mani in honor of St. Patty's Day.
On the accent fingers, I used a white polish from Billie brand polishes (purchased at DollarTree), and 2 different shades of green for the shamrocks, which I made using my Hollywood Nails Nail Art Stamping Kit. On all other nails, I have a shimmery/metallic green from Wet N Wild "Wild Shine" in the color C446C.
Subscribe to:
Posts (Atom)